Willkommen ...!
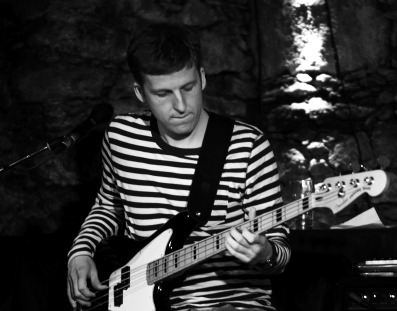
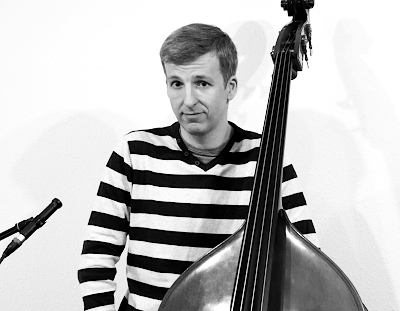
Ich schätze sowohl die Schlichtheit eines Songs (gutes Songwriting, gute Texte) als auch die Komplexität von Kompositionen des modernen Jazz.
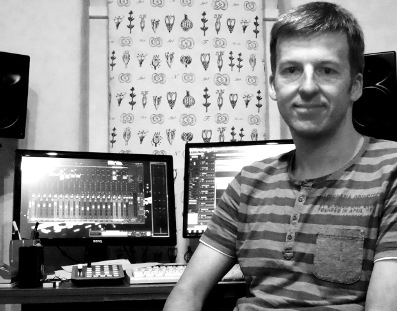
Neben meiner Arbeit als (Multi-)Instrumentalist liegen mit das Unterrichten sowie die kreative Arbeit im Tonstudio (Arrangieren, Aufnehmen, Mischen und Mastering von Musik) am Herzen.
Welcome ...!
I'm afraid this website is mostly in German but feel free to contact me. However, you can find some information in English if you browse through this website. I added English comments where I found it useful.
Please have a look at my video section!
Exploring the Fingerboard (2): Notes on the other strings
In part 2 of my “Exploring the Fingerboard” series, I’m exploring the other strings, using the same rules and concepts introduced in part 1. This part includes exercises #2 to 4.
Index:
0:46 – Summary of part 1
1:33 – Exercise 2: Play the ABC on the G string
4:33 – Exercise 3: From E to E on the D string
6:04 – Exercise 4: From E to E on the E string
topics: fingerboard orientation, notes, note names
Level: beginner
Instruments: double bass
Duration: approx. 8:22 min
For a list of all my video lessons go here.
You could also use the tag cloud (in the footer area of this website) in order to look for video lessons.
All German-speaking viewers may have a look at my translation page.
Exploring the Fingerboard (1): Notes on your A string
“Exploring the Fingerboard” is a series of video lessons especially made for double bass players. It’s all about fingerboard orientation, so these video lessons should help you to find notes all over your fingerboard.
This is part 1 of 4. It features an important navigation rule, and the first of a series of exercises.
topics: fingerboard orientation, notes, note names
Level: beginner
Instruments: double bass
Duration: approx. 7:46 min
For a list of all my video lessons go here.
You could also use the tag cloud (in the footer area of this website) in order to look for video lessons.
All German-speaking viewers may have a look at my translation page.
Fixing phase issues in the mix
Phase correlation is always important in recording and mixing, and if you’re interested in this topic, please read on. I’d like to tell you how I „rescued“ a guitar recording during the mixing stage.
Written by Tim Teissen
First of all, I must admit I did the recording myself, using M/S technique. It’s one of my own songs. I used an omnidirectional mic for the mid signal (which is not as usual as using a cardoid pattern but nevertheless possible), and, of course, a figure of 8 for the sides. All in all, I liked the overall sound, which, after decoding into „normal“ stereo gave a nice spatial impression. Here’s a short sound clip of this recording (nothing else was added, no processing so far):
 I think overall there’s a nice stereo width to this recording. However, listening to it (especially on headphones) you’ll notice some kind of „muddyness“, and the stereo image is not centered. What was bothering me even more: Correlation meters in my DAW were detecting problems in phase correlation, the correlation being close to zero or even negative sometimes!
A special analyser plugin I’ve been using quite often recently (i.e. HOFA’s IQ Analyzer) shows exactly which frequencies are affected (see screenshot on the left). Problem areas are: the lows under 100 Hz, frequencies over 1 kHz, and the region around 750 Hz.
How to fix these issues? Using plugins in your DAW, you have several options to (at least) minimise these phase issues:
a) Lower the stereo width, or making the track even mono (which is possible, because the mid signal is usuable). Tools: There are lots of plugins (even free ones) that allow you to adjust MID and SIDE separately. Simply lower the gain of the SIDE signal. Cons: You lose the recording’s original spatial image.
b) Using a mid/side EQ plugin, filter out the low frequencies of the side signal. (Stereo enhancers can also be used for achieving a similar effect.) Cons: You don’t get rid of the phase issues in the higher frequencies (otherwise you’d have to practically erase all the high frequency information from the side signal, because the phase problems range from 0.7 kHz to 6 kHz), and cutting them leads you back to (a).
c) Use a combination of (a) and (b).
d) Use something else.
Here’s what I did, explained to you step by step:
 1.) Phase rotator
Knowing where the problem areas are, I inserted a plug-in called “RSPhaser” by MAAT, which is an emulation of a real hardware unit (called “RS W2324”) by Roger Schult, who is well known for being a wizard in electronics. This is a phase correction tool (also called “phase rotator”) especially made for purposes like this. I tried 1k as my working frequency and fiddled around with the degree potentiometer, and it didn’t take me long to find a setting I liked.
Looking at the analyzer (see the photocollage on the left showing both the RSPhaser plugin as well as the IQ Analyzer’s results), it showed that the problematic phase issues over 1k were almost completely fixed! And what’s more important: The recording sounded more coherent, and even more powerful, at this stage of processing.
Of all the plugins I’m using in my DAW, I can imagine no other plugin that is able to fix phase issues like that. If I hadn’t known of the RSPhaser, I would have tried to solve my problems with the aforementioned combination of (a) and (b) – which would not have led to the same results.
2.) Mid-side EQ
Next, I inserted a well-known mid/side EQ which is often used in mastering: brainworx’s bx_digital. It has a knob called “Mono-Maker”, which folds all frequencies below its value down to mono. I turned the knob to 100 Hz. This fixed the phase issues in the low area. (If you have an ordinary mid/side EQ plug-in, you can get similar results by a low cut filter in the side signal, and probably adding a bit of the lows in the mid signal.)
Next, I did quite a severe cut (with a high Q) around 750 Hz in the side signal only, thus making this frequency area virtually mono. This frequency didn’t sound good anyway, so getting rid of it also solved my phase issue around 750 Hz.
Other than that, I did some minor corrections, e.g. notching out a resonance at about 440 Hz with the same EQ plugin. After that, I was happy with the overall result. Now it sounded like this:
 Of course, the difference now is more striking than I was after phase rotation, because making the low end mono does have a strong effect. Anyway, now the guitar heard in this example seems to sit right in the center, but retains a nice stereo spread (thanks to the RSPhaser, which rescued my highs).
Looking at the analyzer, I got the information that my phase issues were under control. Furthermore, the RMS loudness difference between the left and right channel (which was quite obvious at the beginning when the signal was not yet centered) was reduced from 1,7 to about 0,3 dB. Very nice! And not only that the numeric values were okay, it sounded well-balanced after all.
Now if I wanted to, I could even ENHANCE the stereo width a tiny bit (instead of getting rid of it, as mentioned above), without getting too much into trouble as far as phase correlation is concerned.
3.) Sweetening after repairing
The last step was to slightly compress only the lows and low mids (up to approx. 340 Hz) with a multi-band compressor plug-in (in order to stabilize the low end), and then slightly enhance the track with full-band parallel compression, as well as a bit of sweetening equalization of the mid channel only (using a high shelf boost). Now the “repaired” and “polished” version sounds like this:
Please compare this to what it sounded like in the beginning:
Note that no other effects were added except the ones I mentioned, and also the sweeting I did in step number 3 was just for the sake of demonstration. Now that’s a good starting point for REALLY enhancing the track further in the mix! But that’s another story …
Happy recording!
P.S.: The tracks were loudness-matched for the sake of comparison.
P.P.S.: As always, I recommend high-quality speakers or headphones in order to really enjoy these sound clips (which were encoded to 320kbit/sec mp3 audio FYI).


